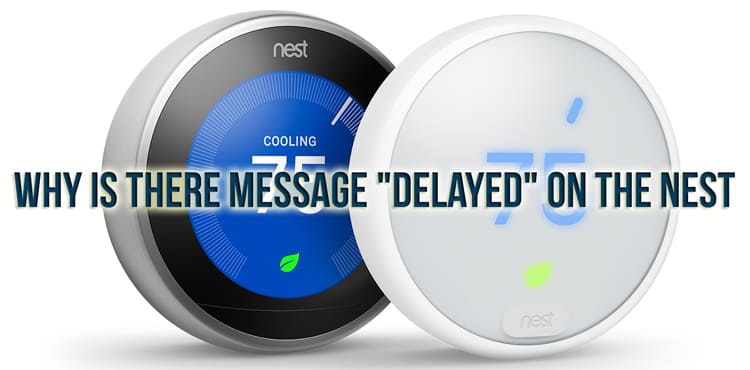
A smart thing is that the Nest thermostat can sometimes show a “Delay” message. This causes malfunctions in the heating control, the room air temperature drops. To fix this problem, there are proven methods. The first method will have to be done again after a while, the second is relatively complicated, but it will help to finally eliminate the malfunction.
Delay message on thermostat
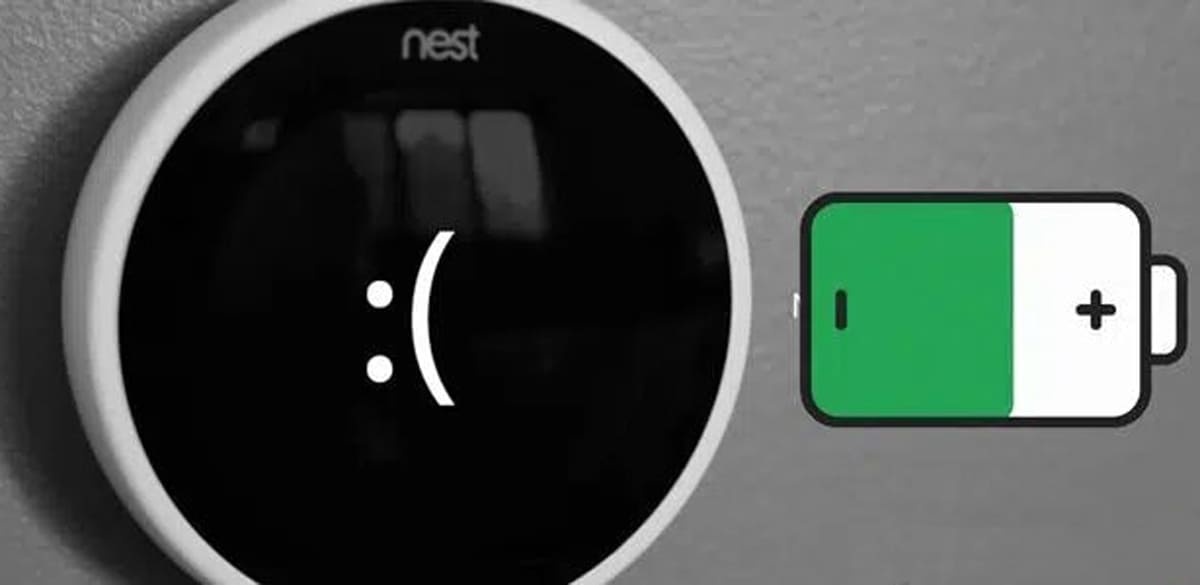
When such a signal text is displayed, you need to start with the study of the most elementary – check the charge. For an urgent and short-term solution, remove the panel and connect it via cable to the charger for two hours. For a full charge, not only the thermostat is connected, but also the heater.
Cause of the “Delay” signal
The latest models of Nest (Learning and E) already have rechargeable lithium-ion batteries, but they only serve as a backup source in case of a sudden power outage in the house and to save the settings. These batteries are not replaceable.
Before use, carefully study the capabilities of the device and the features of its operation. The USB socket with a standard connector is not the main power source, but an emergency option.
The original Nest had replaceable AAA alkaline batteries. In devices of the latest modifications, the batteries are located out of reach. To get the batteries, you need to disassemble the entire case.
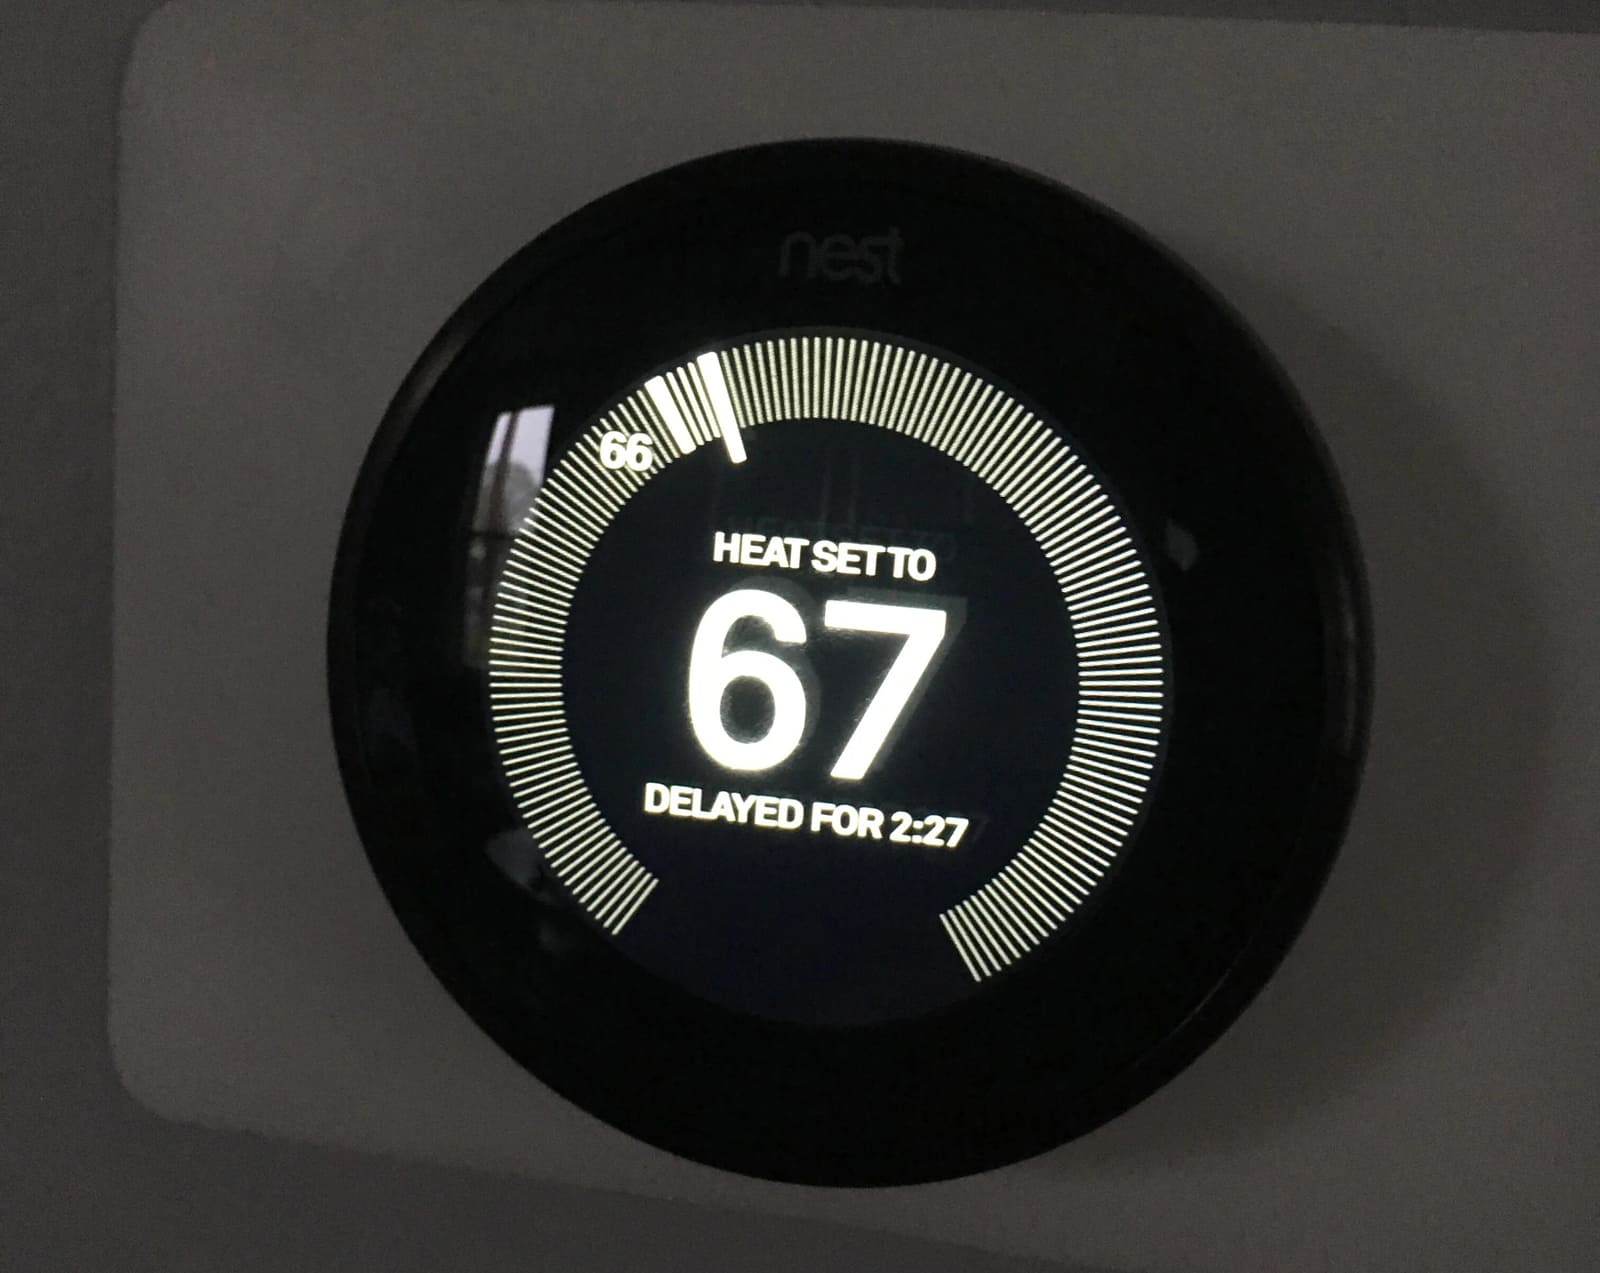
With dead batteries, the thermostat will not work correctly, showing the text about the delayed start or delay on the display.
Gadget quick help
In a short time, you can find an elementary solution to return the thermostat to working condition and eliminate the “Delay” error:
- Detach the front panel.
- On the reverse side is a standard micro-USB or mini-USB connector.
- Connect the cable to the charging equipment, in extreme cases, to the same socket in your computer or laptop, charge the Nest.
Typically, it takes 30 minutes to recharge the batteries, and at least two hours when fully discharged.
Complete charging process
For many Nest models, it is enough to receive electricity from climate equipment to heat or cool the air. This is quite enough to create an uninterrupted operation of the device.
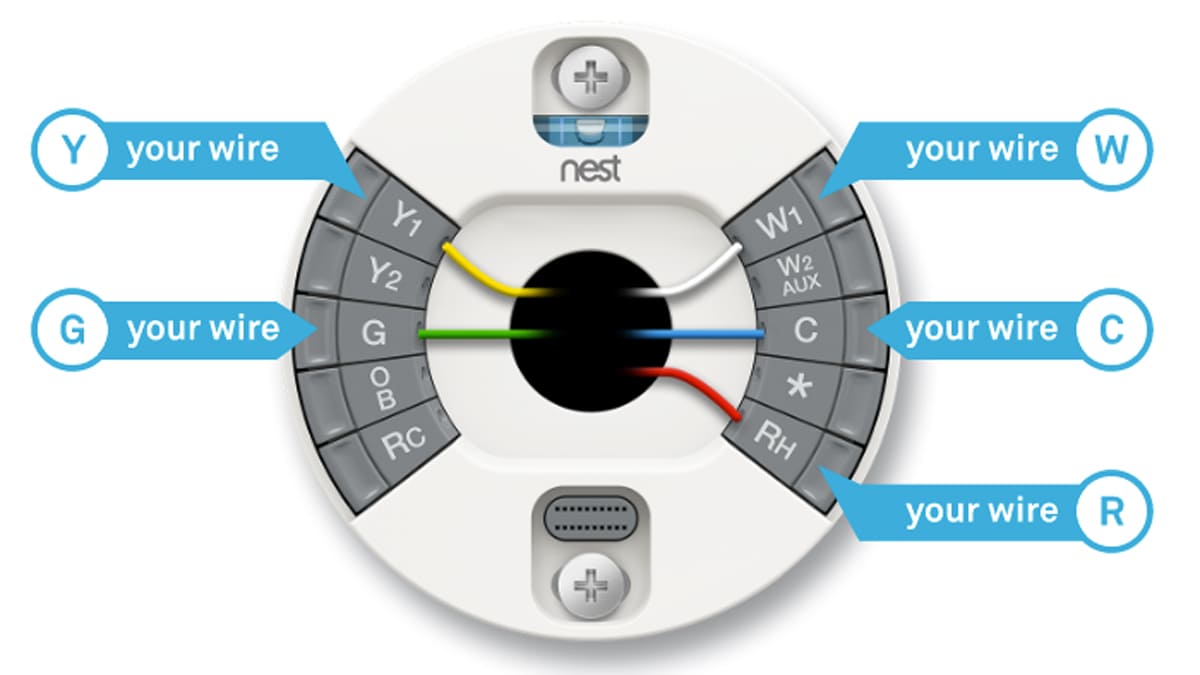
In some cases, electrical wires from heating or cooling appliances connected to the thermorheostat terminals cannot provide the required power. In such a situation, connect the common cable “C”.
Before starting the adjustment, go to the settings on the device and select the “Equipment” button. The display will show all detected wires. Usually yellow – cooling wire, white – heating, green – ventilation, red – network cable. The common wire is made in a blue braid and is connected to “C”. It does not consume much power and will take the minimum amount of energy from the heating system.
A beginner may not immediately find the blue wire he is looking for. For this, there is the following algorithm of actions:
- Turn off the power to all consumers of electric current: turn off the breaker of the machine that controls the thermostat, the heating boiler switch.
- Detach the front panel from the fastener. There are wires at the back. Among them should be a blue common input wire.
- Inside the furnace control unit we are looking for the motherboard, all the low-voltage wiring is attached to it. Sometimes it is located behind the metal panel of the furnace. To do this, unscrew the fixing screws.
- Low-voltage wires can be laid in a single bundle connection or separately. Find two main cables, two branches depart from the first, five from the second.
- We do not need the first one with a split, it will be connected to an external AC unit.
- With the second wire, which has five branches, we will connect the thermostat. Find among the five wires blue – this is the one that must be connected to the common input of the motherboard with the inscription “Com”.
- If there is already a connection on this terminal, it will not prevent the second wire from being located here. Dual wires can work smoothly.
- With no power connected to the oven and Nest, separate the blue common lead and connect it to the C terminal.
- Power on oven and thermostat, insert display top into Nest. Set the regulator to the “Equipment” position. The connected blue wire will be displayed on the device.
- This action completes the process of connecting the stationary power supply with electricity. The display error will no longer occur.
A high-quality connection of the thermostat is possible with the impeccable condition of the general electrical wiring in the house. Check its status before doing centralized climate control via smart device.
Other malfunctions eliminated by the presence of the “C” wire
After installing the cable, does the “Delayed” message still occur? So, the reason lies in other defects:
- Unusual sounds are heard from the device: grinding, knocking, non-rhythmic clicking – this is how turning on and off works by mistake.
- The heating or cooling function does not work when the position is on.
- You can hear the sound of the heating and cooling system turning on and off continuously.
- The fan does not work properly.
Like any electrical appliance, the Nest thermostat works efficiently and smoothly with constant mains voltage. The presence of the connected wire “C” is necessary to stabilize the current supply.
Product User Services
If you do not have special knowledge of handling electronic equipment, you have not been trained in the installation of electrical wires, then there is a Nest Pro service for you, which you can contact in your region. Specialists will diagnose the equipment, find and eliminate all malfunctions, interface problems. They will also help you deal with the “C” wire – connect it to the power socket on the thermostat.