
Sony TVs are high-quality equipment that has proven itself among users from the best side. Unfortunately, models from this manufacturer are also prone to chronic “sores”. One of these problems is the lack of sound. The problem occurs quite often, and during this time several effective ways to troubleshoot the problem have been developed. The latter will be discussed in detail in the article.
Ways to fix sound problems on Sony TVs
If the user encounters a similar malfunction, then the first step is to reboot the device. This can help with a minor glitch. However, there are a number of nuances and alternate methods, if the designated one does not give a positive result. More on this later.
Soft reset of Sony TV
The most popular and effective way to troubleshoot the sound. The TV must be disconnected from the power supply. In this case, the device should spend at least a minute in this state.
At a time when the technique is turned off, the user needs to press the power button on the TV itself and hold for at least 30 seconds. This action will allow you to discharge the remaining energy accumulated in the electronic part of the TV and perform a software reset. It is worth paying attention to the fact that pressing and holding the power button on the remote control will not help in this situation.
After connecting the device to a power source, you must turn it on. After the download is complete, it is worth checking the sound and operation of the TV when adjusting the volume.
Often, rebooting the TV does not work correctly. The user starts to rush and tries to quickly check the result. At the same time, the time for which the device is turned off should not be less than one minute.
Checking the power cord
Sometimes sound problems can be fixed by unplugging the power cord from the TV. The connector is located on the back of the device. After the user removes the cord, the appliance should be left unplugged for at least one minute. Then the TV needs to be connected to the power source again and make sure the connection is tight.
After the device returns to a stable supply of power, the TV is turned on with a button (not on the remote control).
Software Update
Sony TVs connected to the Internet are able to automatically download the latest software versions and install them without user intervention. Unfortunately, sometimes things can go wrong and the owner of the device will need to check for up-to-date software.
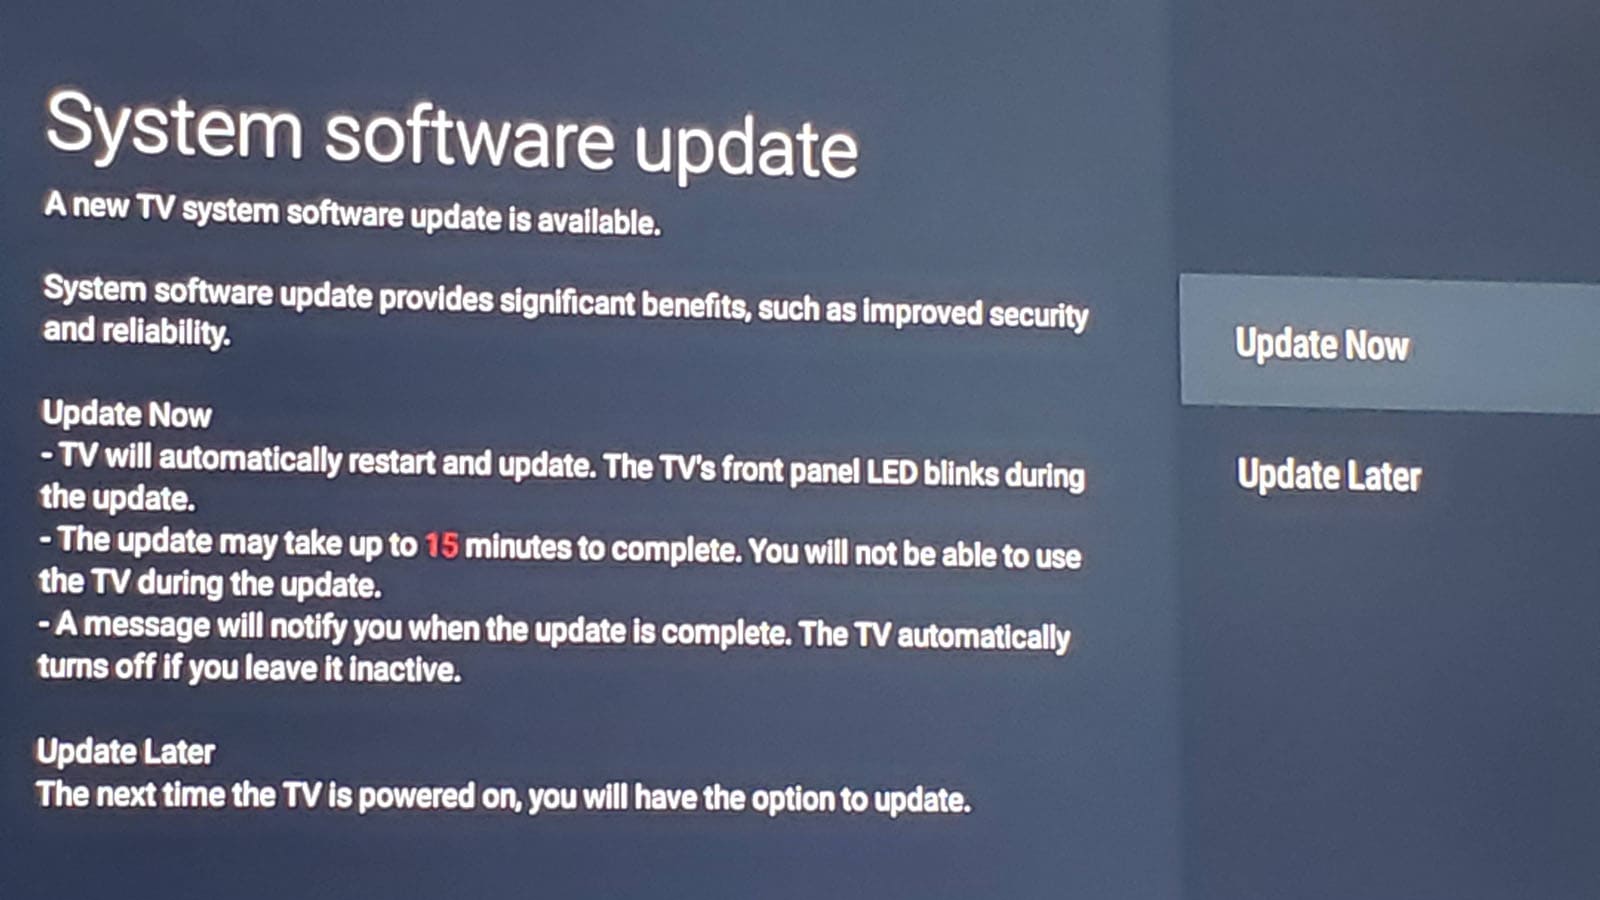
As a rule, outdated firmware brings a lot of troubles, including sound malfunctions. You can verify the presence of these problems through the settings, where there is a corresponding item. After installing the latest version of the software, the sound should work.
Another likely cause of the malfunction is an automatic firmware update. Oddly enough, installing fresh software sometimes breaks the sound. To exclude such an assumption, the user is advised to disable the corresponding function in the TV settings. This will require a few simple steps, including:
- Pressing the Home button on the remote control (with the device turned on).
- Go to settings.
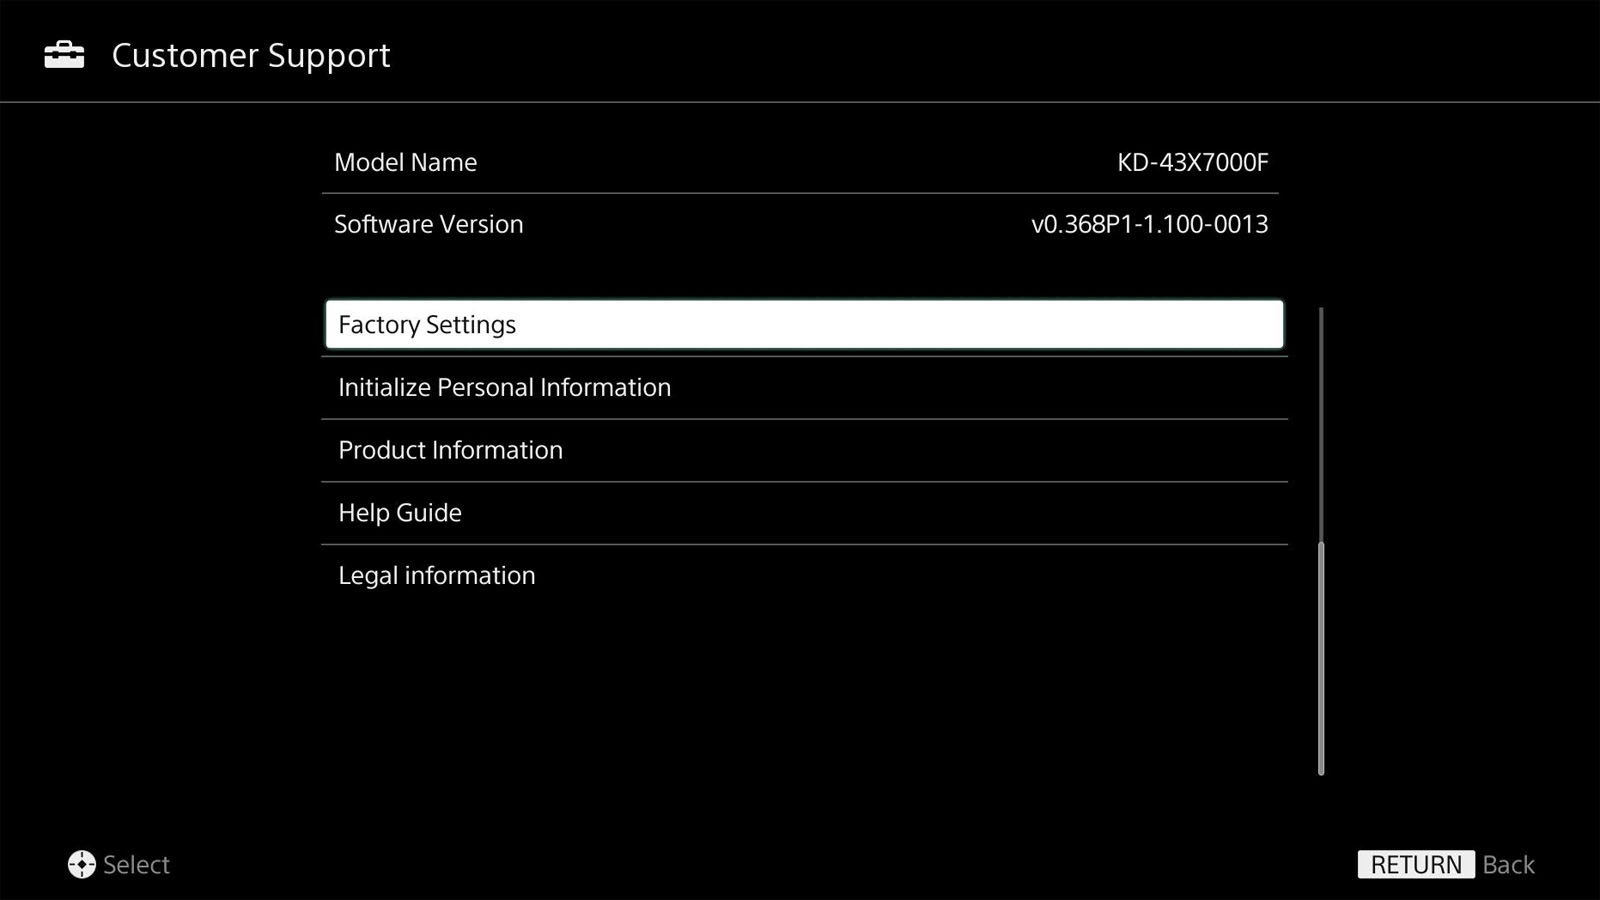
- Go to the “Customer Support” item.
- Scroll down the list until the Automatic Software Downloads section appears.
- Turn off the function.
If the problem was in the automatic installation of the firmware, then the above algorithm will fix the problem. At the same time, it is worth remembering the need to manually check for fresh software and update it. If this is not done, then the TV may start to malfunction.
Reset sound settings
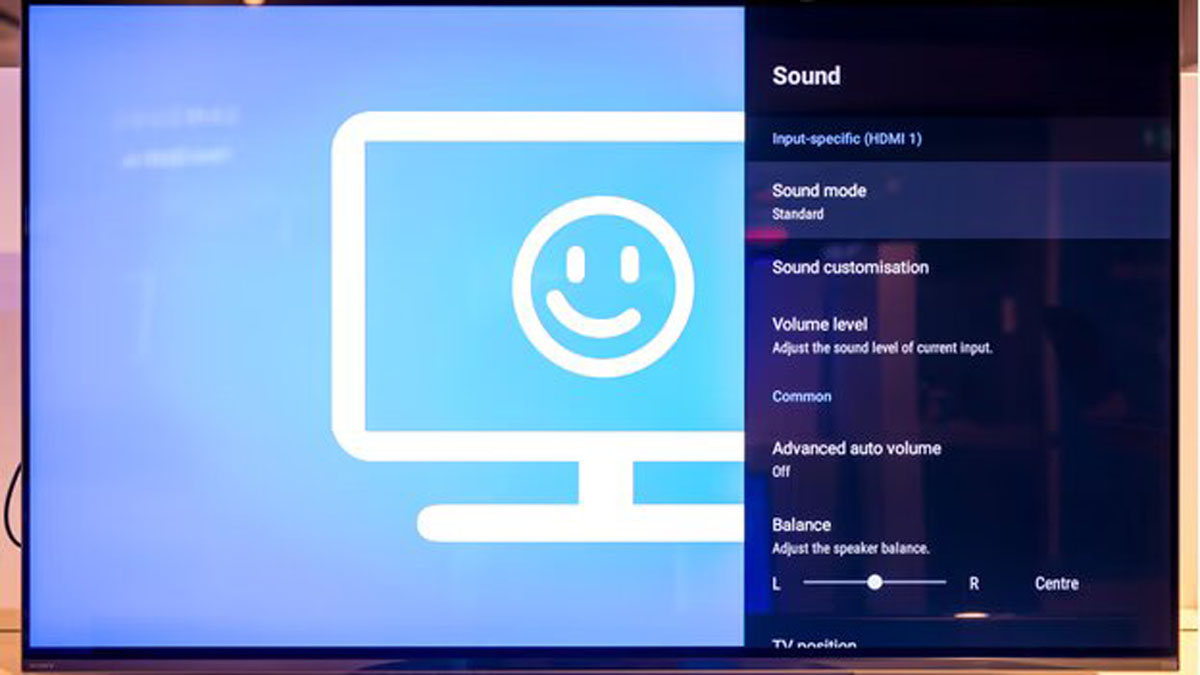
An effective method for solving the problem is to roll back the sound settings to the initial parameters. Take the Sony Bravia Smart TV as an example. For the latest models, the procedure looks like this: on the remote control, you need to press “Menu”, then go to settings, click on the “Sound” section and reset. Sound settings will return to their default settings.
Reset the TV to factory settings
Rolling back the device to the default settings is done to restore the TV settings. If the hardware of the equipment is working, then this will certainly help to return the missing sound. The process is carried out by turning on the TV and then executing the algorithm:
- Pressing the Home button (Menu).
- Go to settings.
- Selecting the “Storage and Reset” section.
- Go to the item “Reset factory data”.
- Selecting the item “Erase all”.
- Reboot the device and check for a positive result.
Resetting a Sony TV from the buttons located on the device
The procedure for resetting the device to factory settings can be carried out without using the remote control. To do this, the user will have to find the control buttons on the TV itself. Depending on the specific device model, the latter may be located at the bottom, right or left.
First of all, you need to disconnect the TV from the power source. In the second step, you will need to simultaneously hold down the power and volume down buttons while holding them. The keys cannot be released even when the TV is reconnected to the power supply.
After the Sony logo lights up on the screen (green light on the panel), the buttons can be released. The last step is to check for sound.
Turning on the TV after resetting the settings takes from two seconds to a couple of minutes. Time directly depends on this or that model of the device. Therefore, the user should not release the buttons ahead of time and wait for the result. Otherwise, this method will not help solve the problem.
Changing sound settings
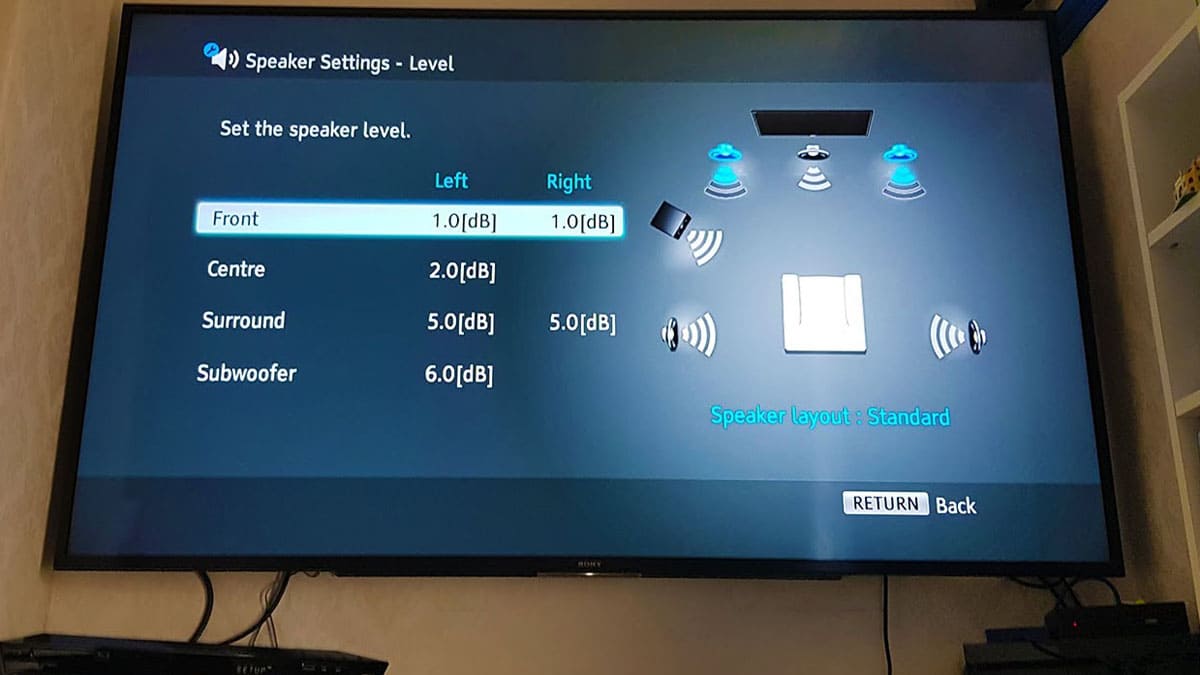
If the methods described above did not help, then the cause of the problem is probably in the sound settings. You can try to change them. The first option will be to enable “Dolby Digital” instead of “Dolby Digital Plus”. The corresponding item is located in the screen and sound settings and is called “Audio output”.
If the user has a sound bar connected (Bluetooth adapter, stereo receiver), then it is worth deactivating “Dolby Digital Plus Out”. To do this, in the “Settings” (parameters) you need to find the item “Speakers” and change it to “Audio system”. In advanced audio settings (“Sound Settings”) “Dolby Digital Plus Out” must be turned off.
When using a cable box or streaming device such as the Amazon Firestick, HD-DOLBY must be disabled. The procedure is carried out by navigating through the settings menu (“Display and Sound” / “Audio” / “Dolby Digital Output” / “Turn off Dolby Digital Plus”).
And finally, on a Sony Bravia TV, the user can try changing the digital audio output to PCM. To do this, press the “Home” button on the remote control and go through the items in the following order: “Settings” / “Preferences” / “Settings” / “AV Settings” / “Digital Audio Out”.