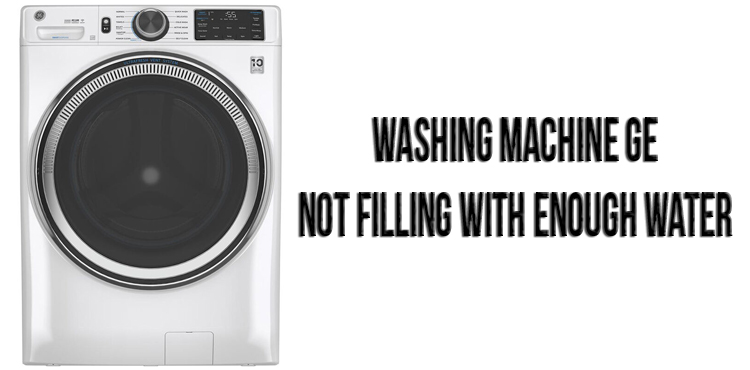
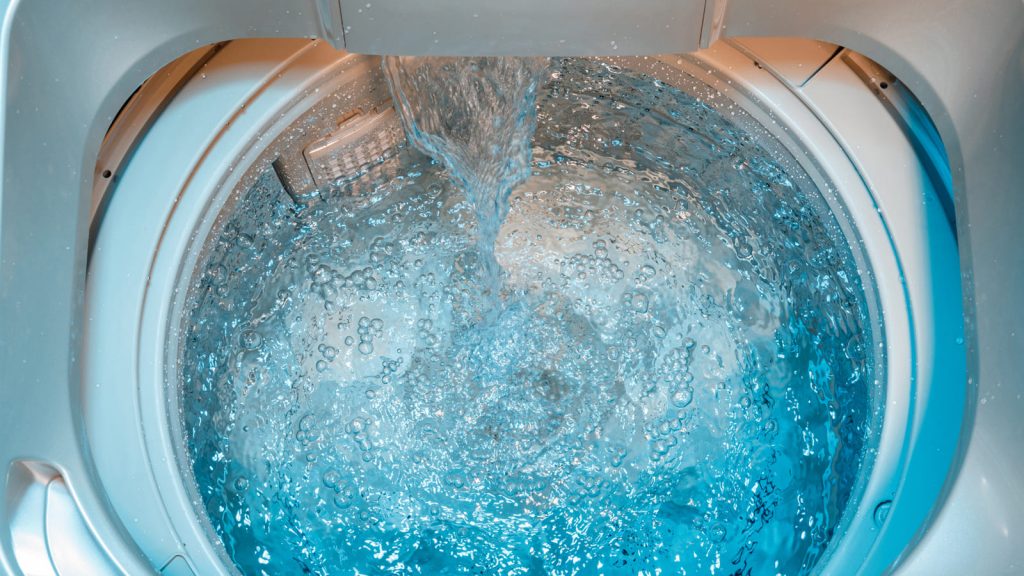
A nightmare for any housewife will be the situation when she loads the laundry into the washing machine and finds that the water does not fill it or flows too slowly.
There are a number of reasons that could explain this problem.
These include:
- overlapping of the water crane;
- unnecessarily low pressure in pipes;
- blockage or burnout of the valve;
- malfunction or obstruction of the fluid pressure switch;
- breakage of the timer;
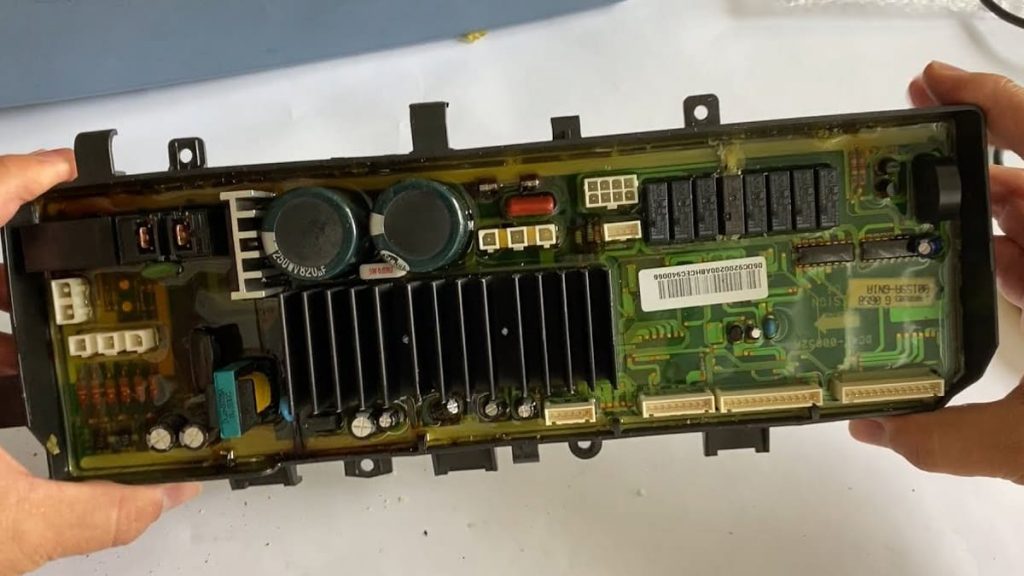
- failure of the main control board.
It is necessary to consider each of them in detail and find ways to deal with them.
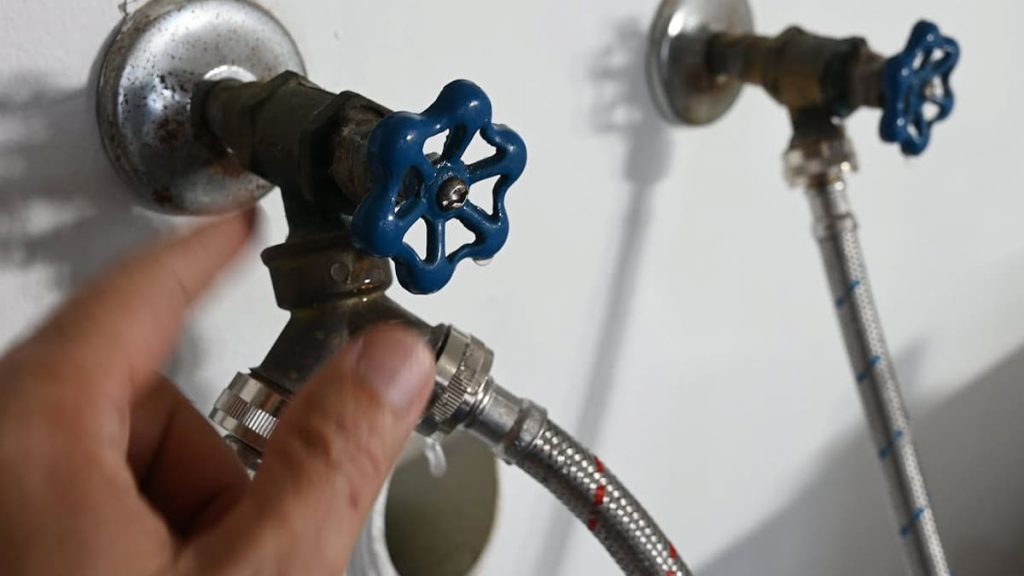
The shutdown of the water tap or low pressure in the pipes
First, you just need to check if the faucet is turned on.
Then you need to check the degree of water pressure. Sometimes the machine does not fill due to the fact that there is an insufficient level of pressure. It can occur due to blockage or leakage. In this case, you will have to resort to the services of a plumber.
If water fills the tank for too long, then it is necessary to examine the condition of the valve for its supply, as well as inspect the filter screens inside it. A blockage prevents the fluid from flowing normally. The owners of the units most often encounter just such a reason, which can be easily eliminated.
To check the valves, take a flashlight and examine the inside of both hose fitting holes that the water supply valve has. They have a screen inside. If it is dirty, then it must be carefully washed.
Valve burnout
Sometimes the equipment from the very beginning cannot be filled. In this situation, you need to check the fluid supply valve for combustion.
To gain access to it, taking into account the design features of various washing machines, you must separate their top, rear or front panel. But first, it is better to carefully read the instructions for their use.
A pair of wires is connected to the valve solenoids. Each of them needs to be disconnected, remembering their original location for subsequent connection. Taking a multimeter, it is necessary to check the continuity of the terminals. If it reads zero, the solenoid does not work and the valve must be changed.
First of all, unscrew its fasteners and disconnect the cords. It is better to immediately photograph their initial placement on the phone so as not to get confused. Then it is required to separate the inner tube connected to the valve. At the end of the work, it is necessary to install a new element, and then assemble the machine.
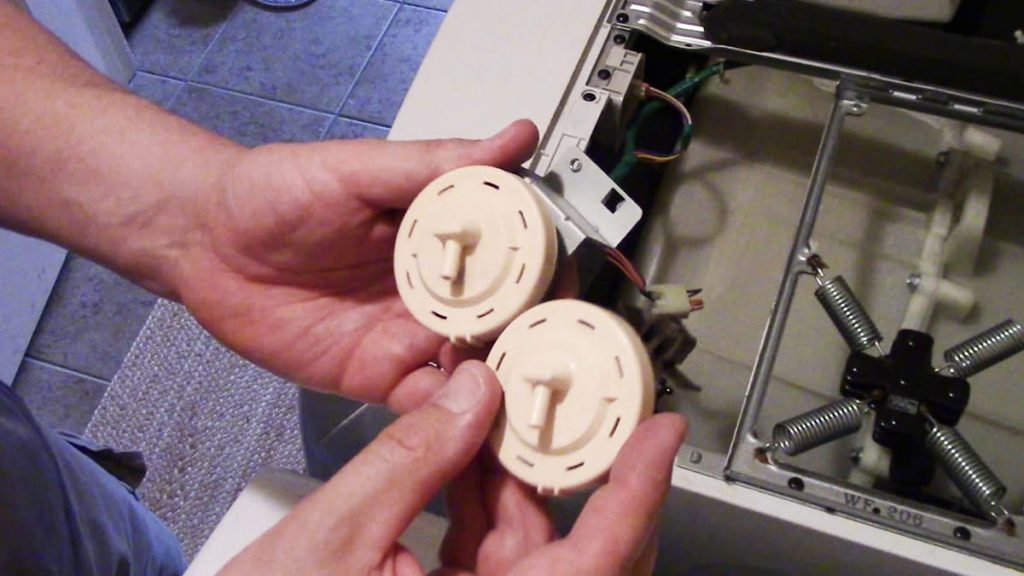
Clogged or faulty pressure switch
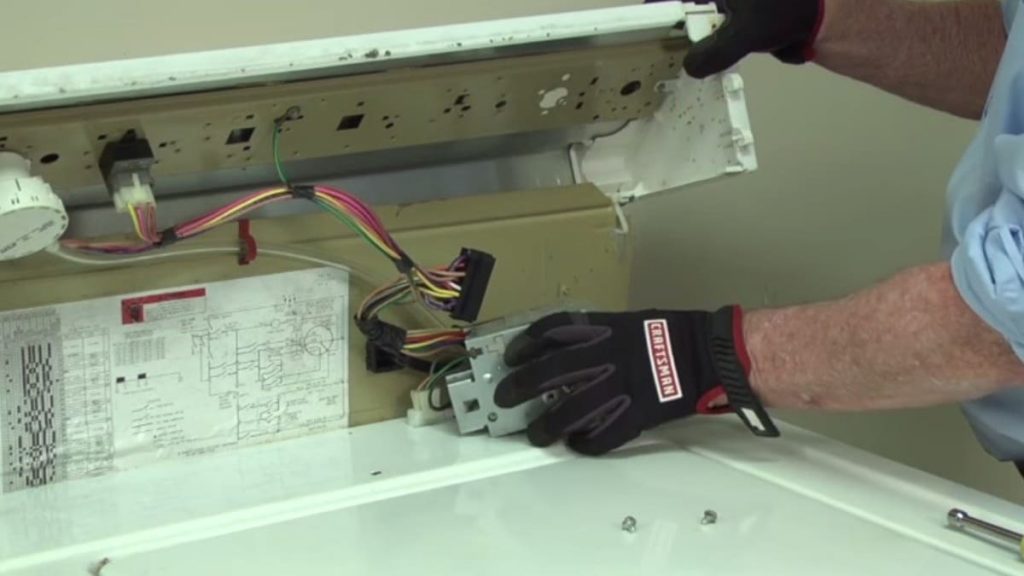
During normal operation of the previously indicated element, it is necessary to check the condition of the water pressure switch. Its location is also associated with the design features of the unit. Typically, the part is located inside the control console.
First, you should examine the inner cavity of the pipe for blockage. If present, cleaning is required.
A number of actions need to be taken.
- The household appliance is powered off.
- Locate the pipe leading from the bottom of the water level switch to the bottom of the tub.
- Its patency is checked.
- The pipe is examined from both sides in search of dirt, sediment or liquid residue.
- The presence of holes or kinks in it is also checked.
- Blockages are cleared out.
- The operation of the switch is checked.
Its serviceability is controlled by a multimeter. You need to find the wires connecting the 3 terminals of the part and separate them. Then you should check their continuity in pairs.
First you need to touch the probes to No. 1 and 2. Then you need to examine No. 1 and 3. At the end, you need to check No. 2 and 3. There should be continuity in one of the pairs. If the readings are different, then the switch is broken and should be replaced.
Timer failure
Such a detail indicates to the technique the sequence of cycles. If it is broken, then the washing machine does not fill with water and is even able to stand up right in the middle of the cycle.
First you need to unplug it from the outlet, and then access the timer.
You should first check its model and series, and then, in accordance with the user manual for a specific option, remove the fasteners in the corresponding part of the control panel.
Then you need to separate the wires leading to the timer. After that, all its screws are removed and the inner shaft is found. Use a flat head screwdriver to pry it out. Then you need to remove the washer handle and the screw holding it. At the end, simply lift the latch and separate the part from the console.
Before changing it, it is required to check the continuity of the circuit. After that, a new timer is set, and the washing machine is assembled according to the indicated steps in reverse order.
Breakage of the main control board
If the unit is equipped with a control board instead of a timer, then it is worth checking its condition. Such a process is not very easy. But if you follow the instructions exactly, you can find signs of a short circuit, burns or damage. If present, the board needs to be replaced.
Repair is carried out according to the algorithm.
- The power supply of the household appliance is completely cut off.
- Remove the screws securing the rear panel with a screwdriver.
- Then it rises and separates from the device.
- The control box housing is also detached.
- The fasteners fixing its cover are found and unscrewed, and then it is removed with a screwdriver.
- The initial position of the wires is sketched or photographed with a phone camera.
- Remove the screws holding the control unit and the housing assembly.
- With a screwdriver, carefully pry off the old main board and separate the display boards.
- Next, you need to combine a new part with it and insert it in the right place.
- In the end, you should reassemble the equipment according to the scheme and actions that were taken to repair it.
If the washing machine does not fill with water during its operation, then you must first establish the features of its model, study the instruction manual, and then carry out repairs yourself.
