To date, modern washing machines do not require the presence of a person to complete the task: they drain the water themselves and wring out the laundry themselves. This process does not cause any difficulties, however, sometimes malfunctions of the washing machine may occur. One of the most annoying failures can be considered turning off the device during washing.
Why is this happening? It is impossible to give a general answer to this question. Among the possible options:
- Broken door latch assembly;
- Violation of the timer;
- Breakdown of the water control switch;
- Incorrect operation of motor brushes or motor control board.
It is necessary to carefully analyze each of the reasons. In this case, it will be possible to understand what exactly underlies the problem in each case.
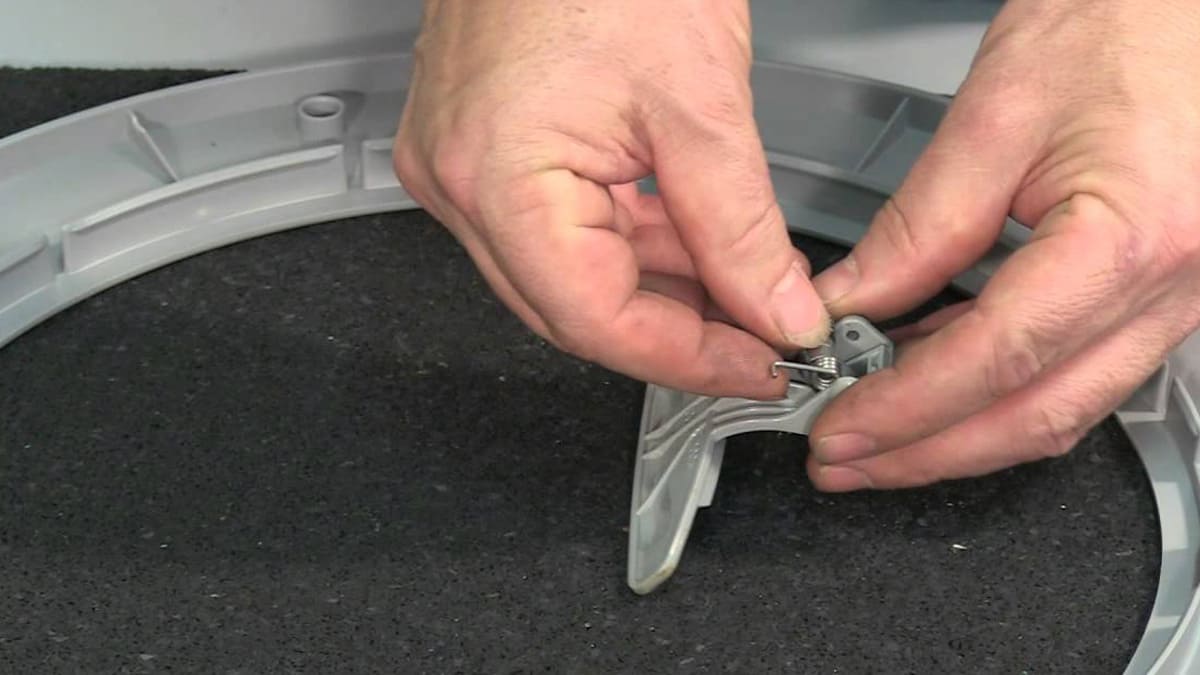
Broken door latch assembly
The washing machine door has an automatic latch that prevents the appliance from opening during washing. Moreover, it works in such a way that it is impossible to open it during operation. This is done in order to prevent water leakage and flooding of the room. At the end of the washing process, the door opens automatically.
It may seem that the automatic lock device is simple and has nothing to do with other mechanisms in the operation of the machine. However, in reality, the lock may well cause more serious failures, because the lock on the door is electrically connected to other parts and components of the system. As a result, a faulty latch on the washing machine can cause the washing to automatically turn off right in the middle of the process.
Moreover, failures in the operation of the latch also have different types. For example, it could be a loose electrical connection. But more common causes are deformation of the door latch wires and an internal short circuit of the lock.
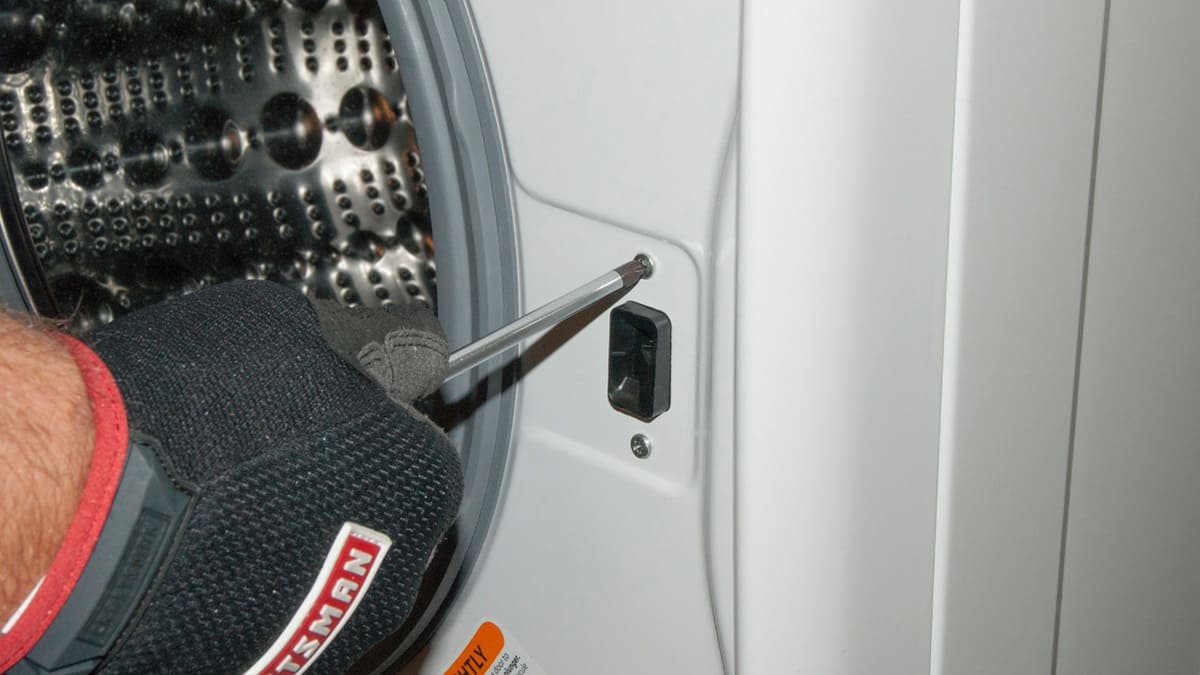
The solution to this problem is to completely replace the door latch assembly. Despite the apparent complexity, this process is quite simple and labor-intensive. First you need to disconnect the washing machine from the electricity network, and also find the instructions for your device in advance, which will clearly show where certain parts are located.
At best, the door latch assembly is located right inside the door, so you don’t have to completely disassemble the washing machine. You will only need to disassemble the door and bend the rubber gasket behind which the door mechanism is located.
This mechanism is usually attached to the door with two screws. To replace it, these screws must be unscrewed, and then carefully remove the old lock. And pay attention to how exactly it is installed in the door in order to put the new one in exactly the same position. Next, you need to replace the lock connector, put in a new mechanism and screw it in, but not too hard so as not to deform the plastic door cover.
Timer malfunction
The timer is quite rare in new washing machines, usually manufacturers prefer control boards. However, if your washing machine uses timer technology, this option is worth checking out as well. To find out if the device has a timer or a board, refer to the information in the user manual or in the instructions.
The timers work like the command center of the washing machine. It controls the actions of the device, indicating when to start, when to stop.
The timer is a mechanical device that contains springs and electrical contacts that may malfunction as the life of the washing machine increases. This leads to excessive energy consumption by the timer, which, in turn, causes the mechanism to overheat, followed by a short circuit. It is because of the short circuit that the circuit breaker trips.
If this happens, then the timer is in a faulty condition and cannot be repaired. The only option is to buy a new part and install it in place of the old one. To do this, you need, firstly, disconnect the washing machine from the electricity network, and secondly, find information in the instructions for the device about where the timer is located and what structure it has. After that, you need to disassemble the front panel of the washing machine. Before you will be an open case of the device, inside of which there is a timer. It is attached to the panel with screws, and wires branch off from it, through which commands are received by the mechanism.
Remove the screws and disconnect all wires from the timer. And pay attention to how they are connected to each other. After that, install the new part into the case and screw the front panel back.
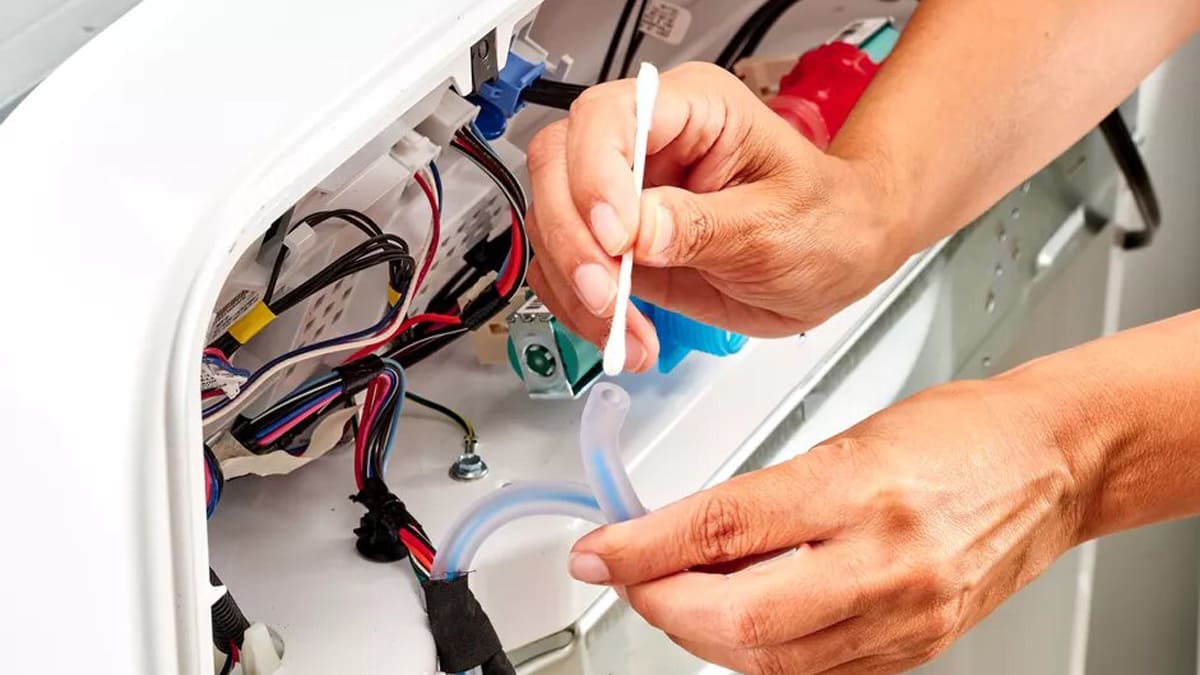
Water control switch failure
The least likely reason for a washing machine shutdown. The water level controller, oddly enough, controls the water level in the drum during washing. It is attached to the drum with a special tube, inside which air is compressed as the water level in the drum rises. With the help of the controller, the washing phases are changed.
For example, a washing machine needs to add water to keep running. The water controller signals this to the mechanism: it instructs the valves to fill the drum with the required amount of water. This is just one of the main functions of the water level switch, it also constantly ensures that energy is directed exactly where it is needed.
If the water control switch is in a faulty state, it can cause many problems during the washing process, including automatic shutdown of the device right in the middle of work. Typically, an abrupt shutdown is a signal that the controller is issuing too many commands to different departments, this causes the system to overload, which triggers an automatic shutdown of the process. Making sure that the problem is in the switch is quite simple: a failure entails a failure in the operation of the air pipe.
To replace the switch, you need to determine where it is located. Manufacturers usually place this mechanism inside the central part of the case, but it is worth clarifying in the instructions, since each manufacturer places the components at their discretion.
After that, as with all manipulations with appliances, disconnect the washing machine from the electricity network. Next, use the instructions to accurately identify the controller. Before replacing the old part, take some photos showing how the air tube and other wires attach to the switch. This will help you with the further installation of a new element: check what you are doing with the image in the photo.
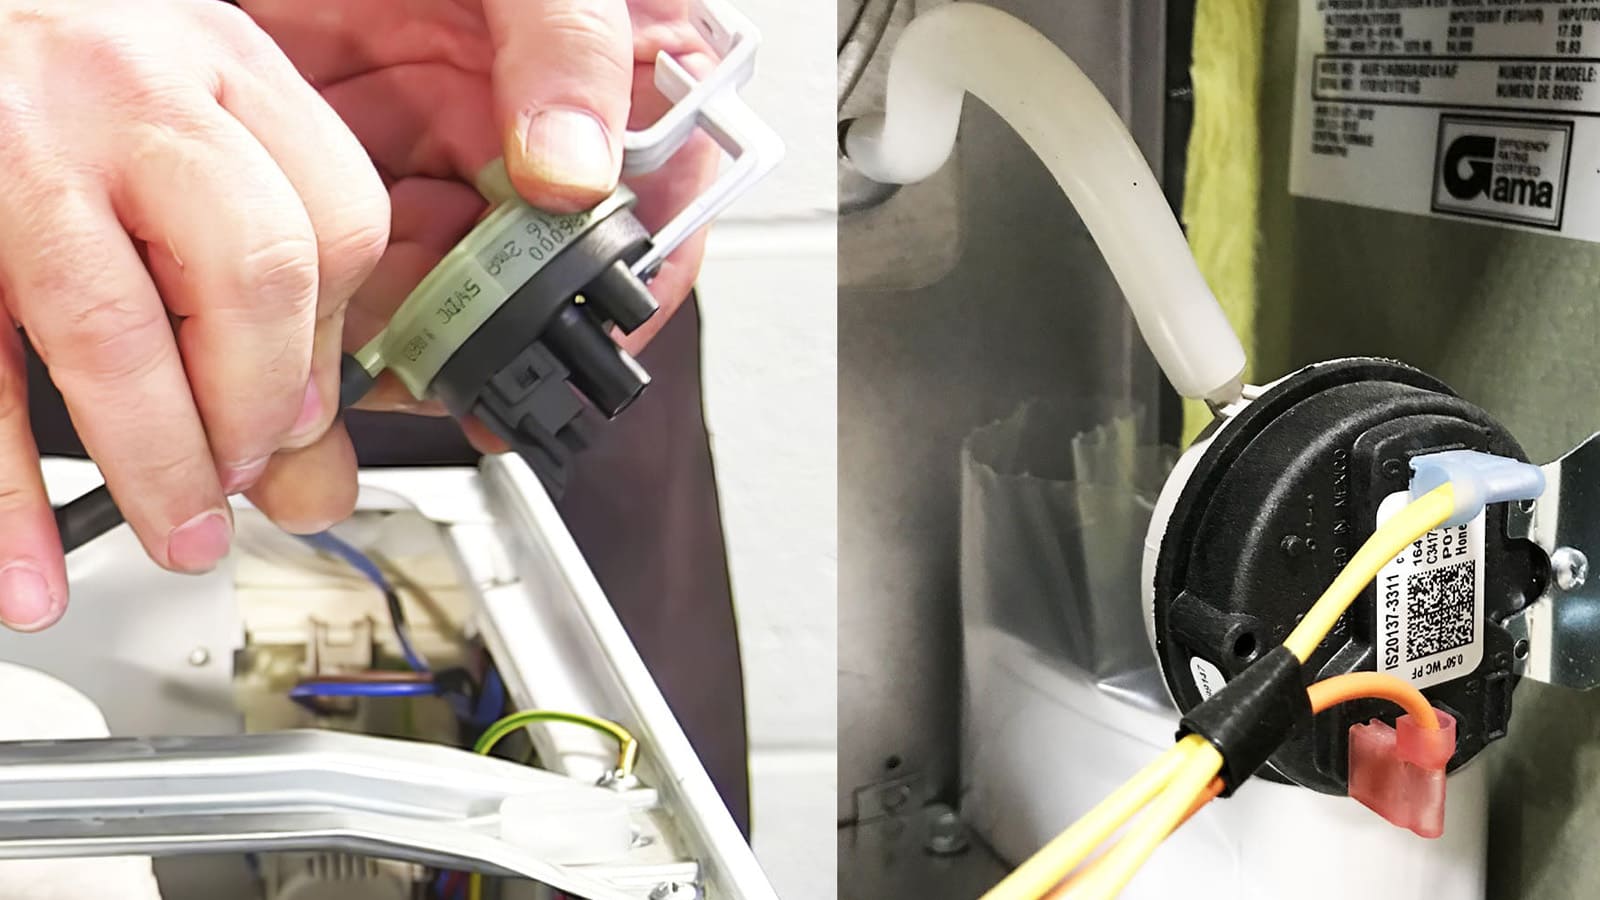
Before removing the water level control switch directly, remove the air hose. So, the task becomes easier and faster. Only then remove the controller itself.
Next, when you have disassembled the parts, start installing the new ones in reverse order: first the switch, then the wires and connections adjacent to it, and only then the air pipe.
Incorrect operation of motor brushes or motor control board
The motor (engine) in the washing machine, in fact, starts the entire mechanical process. Thanks to him, the rotation of the drum begins, the adjustment of the washing phases, the spinning of the laundry and much more. However, the motor is not an independent unit of the device. A control board is installed as an auxiliary element to the motor.
The control board is an element of the overall system that determines which task the motor should direct energy to. It regulates when, in what phase, this or that action from the motor side should occur. In fact, the board and the motor are something without which the washing machine will not perform any task.

Accordingly, a sharp shutdown of the washing machine during the washing process may also indicate a malfunction of one or both elements. Among the reasons that could disable the motor and / or the board are:
- Wear of parts. This usually applies to older devices that have been regularly used for many years;
- The motor became less productive, again, due to the long period of use, it began to consume an excessive amount of energy to perform even simple tasks;
- The control board consists of a number of small electrical components, which can also fail and cause failures in the entire system. This usually happens if the washing machine has been exposed to voltage or heat fluctuations, as a result of which the resistors burn out.
To fix the problem, as in previous cases, a complete replacement of old parts with new ones will be required. It is necessary to change either the motor or the engine control board, based on which of the elements is faulty.
Before starting installation, you must disconnect the washing machine from both the electricity network and the water supply. Next, you need to remove the top and front covers on the device in order to freely and freely replace one or another part. Take a photo of the location of the board and the motor beforehand, this will help you in the future to correctly install the new components in place.
The control unit is relatively easy to replace due to its small dimensions. It is easy to get it out and put the new one in place of the old one. Otherwise, the situation is with the motor. To replace it, in fact, you will have to disassemble most of the parts, namely the belt, mounting bolts and screws, adjacent wires. In addition, unlike the control board, the motor itself is quite large and heavy, so it is better to read the instructions in advance in order to clearly build a plan of action.
A special capacitor inside the washing machine serves as an energy storage device, thanks to which it is able to start the motor. As soon as the process is started, the capacitor stops its work due to uselessness.
Accordingly, if the capacitor is damaged, then it cannot distribute energy as necessary for the correct operation of the washing machine. In this case, the protective shutdown device of the washing machine will start to stop working to prevent accidents not only with a specific device, but with the entire electrical system in principle, because a faulty energy storage device may start to spark.
Replacing a broken capacitor on your own without the proper skills is quite difficult, since the process requires knowledge of the washing machine device as an integral mechanism. If you still decide to do this, then first disconnect the washing machine from the mains electricity. After that, you need to remove the capacitor and all the wires adjacent to it and change it to a new one.