
The clothes dryer is one of the most useful home appliances. But in some cases, certain situations arise when it ceases to function as it should. It is necessary to mention the option when the equipment suddenly stops working a couple of minutes after being turned on. It is necessary to list the possible reasons why this happens.
These include:
- malfunction of the door latch or switch;
- oxidation or disconnection of the humidity sensor wires;
- overheating;
- breakage of the tension roller;
- rupture of the drum belt, etc.
Motor overheating
If the dryer stops functioning a couple of minutes after starting, then in this case, most often the engine overheats.
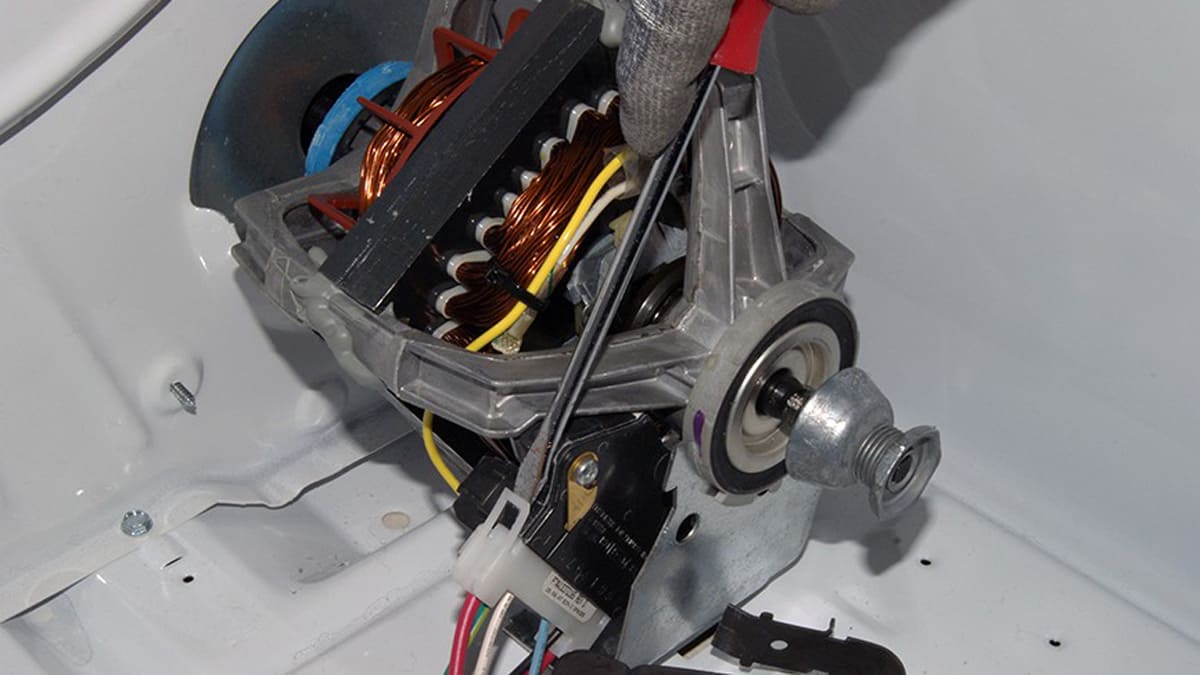
The most common cause of such a problem is its breakdown, then a mandatory replacement of the part is necessary. It is possible to understand that repairs should be carried out by the strong buzzing of the machine before stopping the motor.
When it stops functioning before the end of the cycle, you need to wait at least half an hour or even 60 minutes. Then turn it back on. If a few minutes after cooling down, the unit starts working again, then most likely the fault was the engine.
It is best to change it in the following way.
- Turn off the electricity.
- Remove the bottom access panel.
- Remove the fluff filter and separate the bottom screws.
- Move the equipment away from the wall.
- Remove its top panel.
- Disconnect the wires leading to the door switch.
- Remove the front panel.
- Grab the idler pulley with one hand and push it back. Another is required to separate it from the motor pulley.
- The part must then be removed from the mounting bracket.
- The belt should be left on the drum, but the drum itself should be taken out of the cabinet.
- After the points of connection of the wires to the motor are marked, they also need to be disconnected.
- The blower impeller loosens and remains in the housing.
- Then a new engine is mounted.
- The dryer is assembled in the same order as it was disassembled.
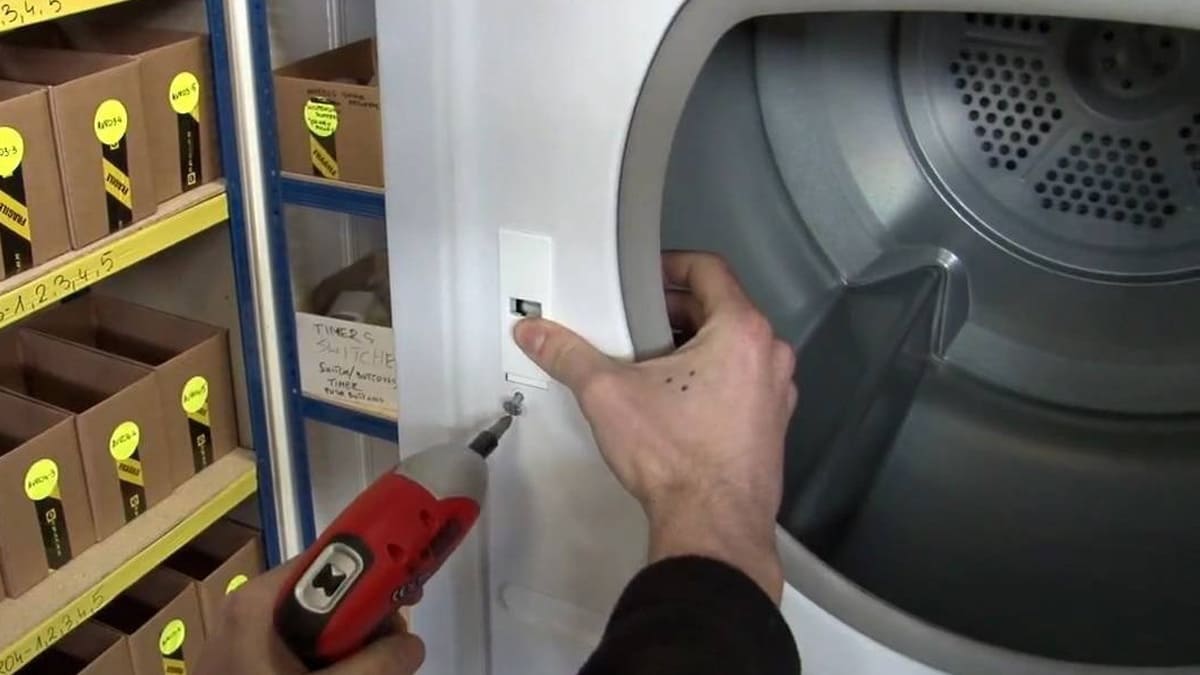
Door latch malfunction
Units are now being produced that are equipped with door switches that prevent them from working with the door open.
Gradually, such parts wear out, as a result of which the door is able to open even during the passage of the cycle. Then the household appliance will immediately stop functioning. If this problem occurs often enough, then it is best to replace the part with a new one.
It is very easy to do this job. First you need to disconnect the device from electricity. Then you need to open its door and remove it from the hinges. All screws must be removed and the structure completely disassembled. The sashes should be divided. For convenience, it is better to take pliers that are easy to handle with a latch.
Then a new part is installed, and the mechanism is assembled. The door is mounted in its original place and the equipment begins to work in full force.
Humidity sensor wiring fault
The tumble dryer is equipped with humidity sensors that monitor the remaining moisture in the drum. If they break, then the unit loses the ability to receive a signal for the control board. Then it stops already after five minutes, since the situation corresponds to that when the laundry is already completely dry. At the same time, a signal is given that the cycle is completed. But things stay wet.
The troubleshooting steps are quite simple. It is required to turn off the power supply of the household appliance. Then it must be moved away from the wall to gain access to the back side.
Then you need to remove the screws from the top. After that, you should pull it back about 1 inch and lift it up. When the part is separated, it is carefully set aside.
The control board wiring harnesses are then removed. It is also required to unscrew the fasteners of the control panel. The part is removed and the last wiring harness is separated from it. The panel is placed on top of the dryer.
Then you need to open its door and remove the screws holding the lint screen housing. After the door is closed, use pliers to bend the latch holding the front panel and remove its fasteners. The panel must be held.
Lastly, the switch wires are disconnected and the front panel is removed. Temporarily it is also worth setting aside. The humidity sensor wiring harness is now visible on the right side. You need to get to it and turn it off.
Pliers remove the mounting plate and strainer. They also need to be postponed. After that, the screws holding the grille are unscrewed, and the part is removed. The lint filter guide is then pulled out and the wiring harness removed from the humidity sensor. After that, new elements are installed here and the car is reassembled in the reverse order.
Drum belt breakage
If the unit stops working a few minutes after turning it on and does not resume the cycle, then the drum belt should be checked. It is connected to the drum itself, the idler pulley and the motor pulley.
As the motor armature spins, the belt drives them. Thus, the clothes are turned over, gradually drying out.
If you hear that the motor does not start and the drum does not rotate, then obvious signs of a broken belt are obvious. Even with careful handling of a household appliance, it gradually wears out and breaks. Then it will be possible to resume the operation of the device only when the part is changed.
It happens in the following way. First you need to turn off the power supply of the equipment. Then you need to remove its top panel and lean it against the wall. After that, the screws of the front panel are removed, and it is better to press it against the cabinet wall.

The belt is removed from the tension roller and from the engine pulley. You need to firmly grasp it and pull it up to remove the drum bearing. Then take out the front guide. The drum is pushed forward through the hole, and the belt is removed from its back. Then a new part is mounted. It needs to be wrapped around the drum on the side that has the corresponding groove.
It is worthwhile to carefully ensure that the belt does not get dirty in the grease that covers the back of the shaft.
The drum needs to be moved back, lifted up and placed in the toggle switch shaft in the rear bearing. The belt must be aligned and pulled through the idler pulley and the motor pulley. It is also necessary to loosen the tension of the roller in order to install it more firmly. Then, in reverse order, the dryer is assembled in its previous form.
Idler pulley failure
If the unit stops working a few minutes after turning it on and cannot be started, then this problem is most often associated with a malfunction of the tension roller.
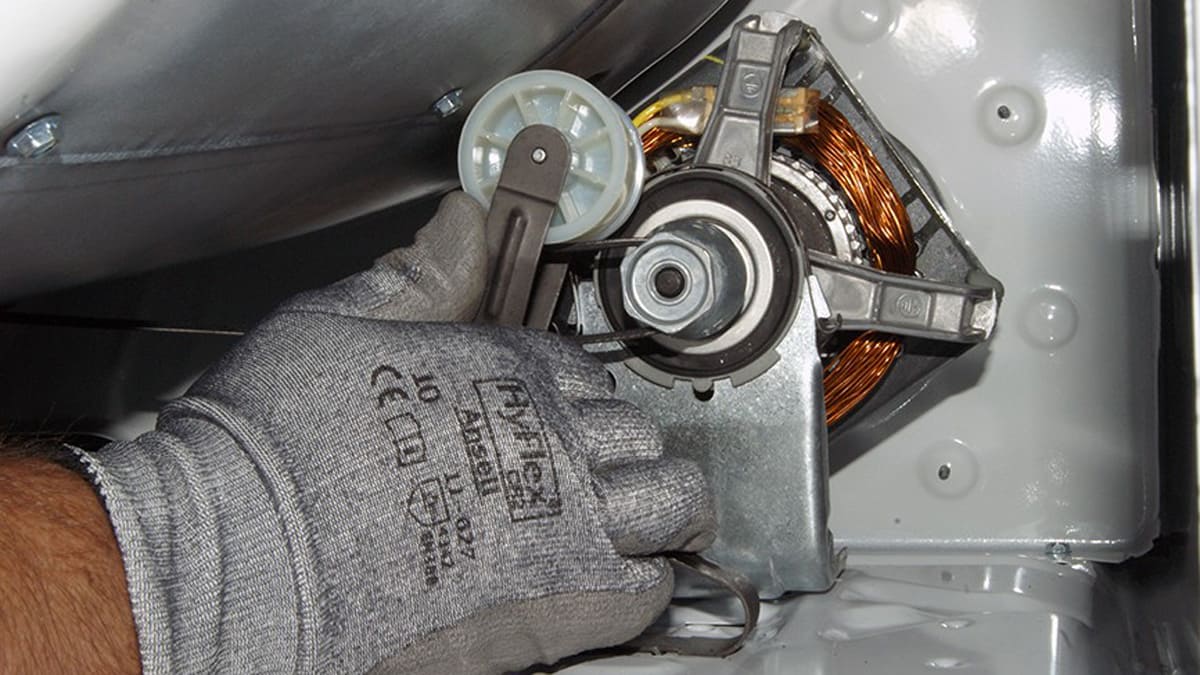
In this case, you should take the same actions as before. Their purpose is to find the idler pulley, which needs to be carefully examined for the presence of defects.
If they are available or the part does not maintain the required tension, then it must be replaced. Only then will the dehumidifier function properly.
If a household appliance turns off a couple of minutes after the start of work, then any owner of the equipment must know what causes such difficulties.